Shooting on Sahara's dunes in Morocco's desert, I caught a large amount of sand grains in my camera (without actually changing the lense at any time, the sand just came in...), so I had to find an efficient way to remove the resulting dust spots...
Being an Adobe product, After Effects comes with a few filters that are also included in Photoshop, luckily also with the Dust & Scratches filter. As in Photoshop, you do not want to apply the filter to the whole frame, but only where the dust spots are. To do so, in AE one uses Masks:
First import your images into a new composition. Copy your ground layer by clicking on it and pressing ctrl-c ctrl-v:
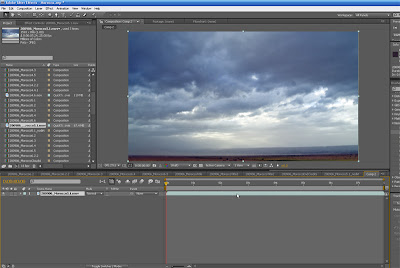
You have now two layers. Select the upper layer. Then click on the "Ellipse Tool" in the tool bar (if the ellipse tool is not there, just alt-click onto the corresponding symbol until it appears):

using this tool, mark all dust spots in your image:
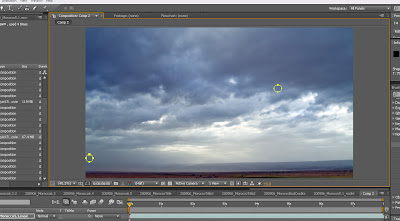
In the upper layer, two mask have appeared:
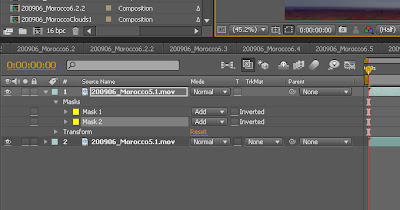
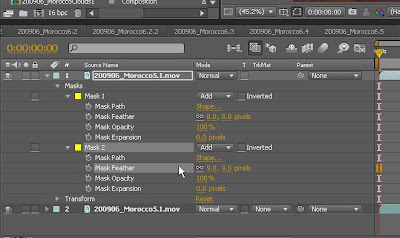
By clicking on the little arrow, you can open their menues. Change the values of "Mask Feathers" to maybe 5 - 10 Pixels. This value says (at least if I understood correctly...) how sharp the mask will be:
The open the Effects menu, select the Noise & Grain menu and there the Dust & Scratches filter. Drag it onto the upper layer:
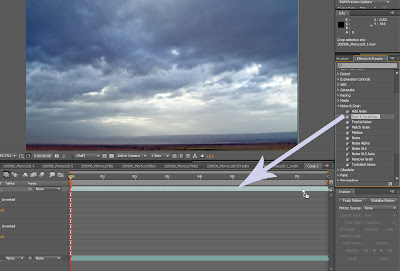
Set the "Radius" value of the filter to maybe 20-40 and the threshold to 0. The dust is gone and it will not look washed out as if you use the stamp tool to do the same!
Btw: If the spots are still a little dark, it helps to increase the brightness of the upper layer a few percentages (Filter... Color Correction... Brightness & Contrast)
I will upload the finished timelapse movie somewhen next week onto vimeo and youtube!
Find my timelapse movies here:
www.magictimelapse.ch

how do you merge both layer into one to render the final video?
ReplyDeletethanks!
"how do you merge both layer into one to render the final video?" - You just place the effected layer above the original uneffected layer. Thanks magictimelapse, I've been doing this in such a stupid long winded way for such a long time. Think I better go get my sensor cleaned anyway!
ReplyDeleteear mo_tion, Sorry about my ignorance but how do I do that?
DeleteI tried placing layer 2 on top layer 1 but this din't work.
Can you describe for me what to do?
Thanks you!!!
Leila
This comment has been removed by the author.
ReplyDeleteI used an adjustment layer instead of duplicating the original. Works fine that way too.
ReplyDeleteIt also can be done by patch tool more easyly
ReplyDeleteThank you for a wonderful overview and detailing of magic show like Set the "Radius" value of the filter to maybe 20-40 and the threshold to 0. Thanks for sharing valuable information with us.
ReplyDeleteSydney Magician
If you need high-quality Video Mapping then also check this site!
ReplyDeleteThese are not your typical masks, and they do have their limits. Disposable face masks may help you when you are doing things like painting or working with fumes, but then again, they may not be the right type. face dust mask
ReplyDeleteThanks for sharing such beautiful information with us. I hope you will share some more information about dust mask with filter. Please keep sharing.
ReplyDeleteThe reason behind this is that most of the ingredients of known to be effective homemade face masks can be actually found in your kitchen or refrigerator. smell proof bags
ReplyDelete